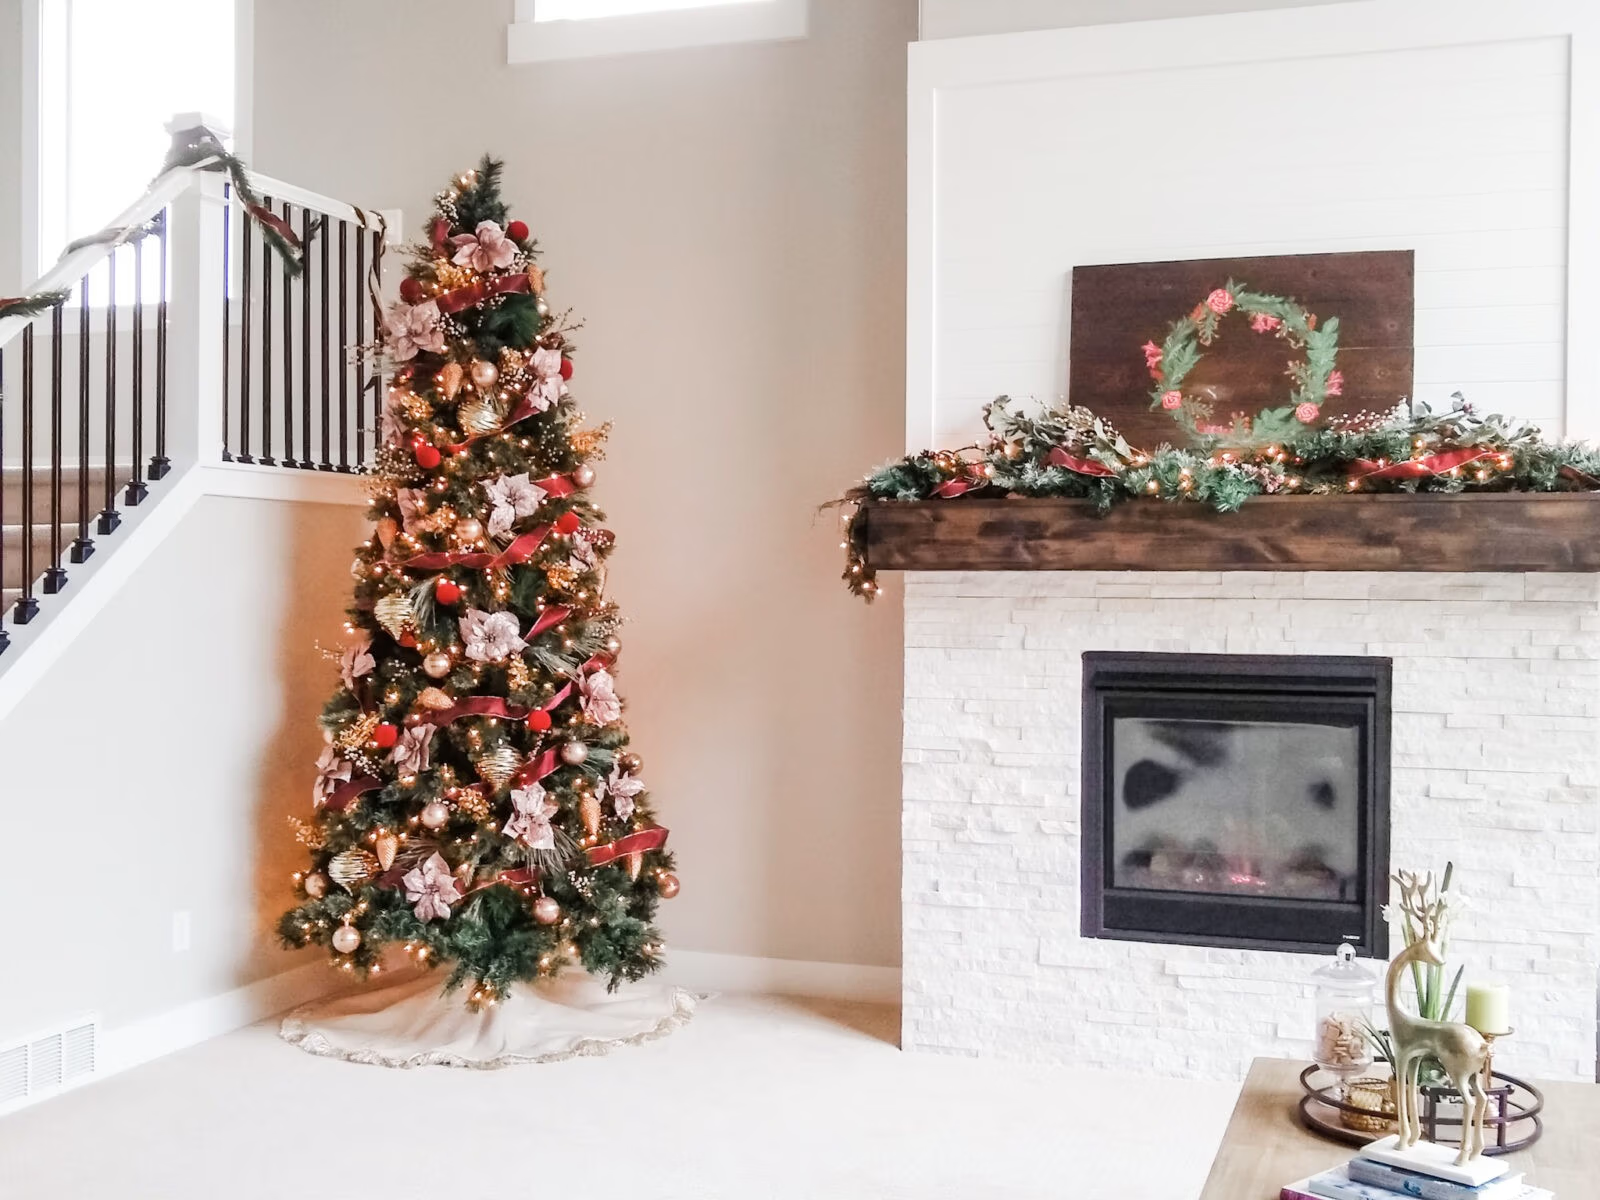
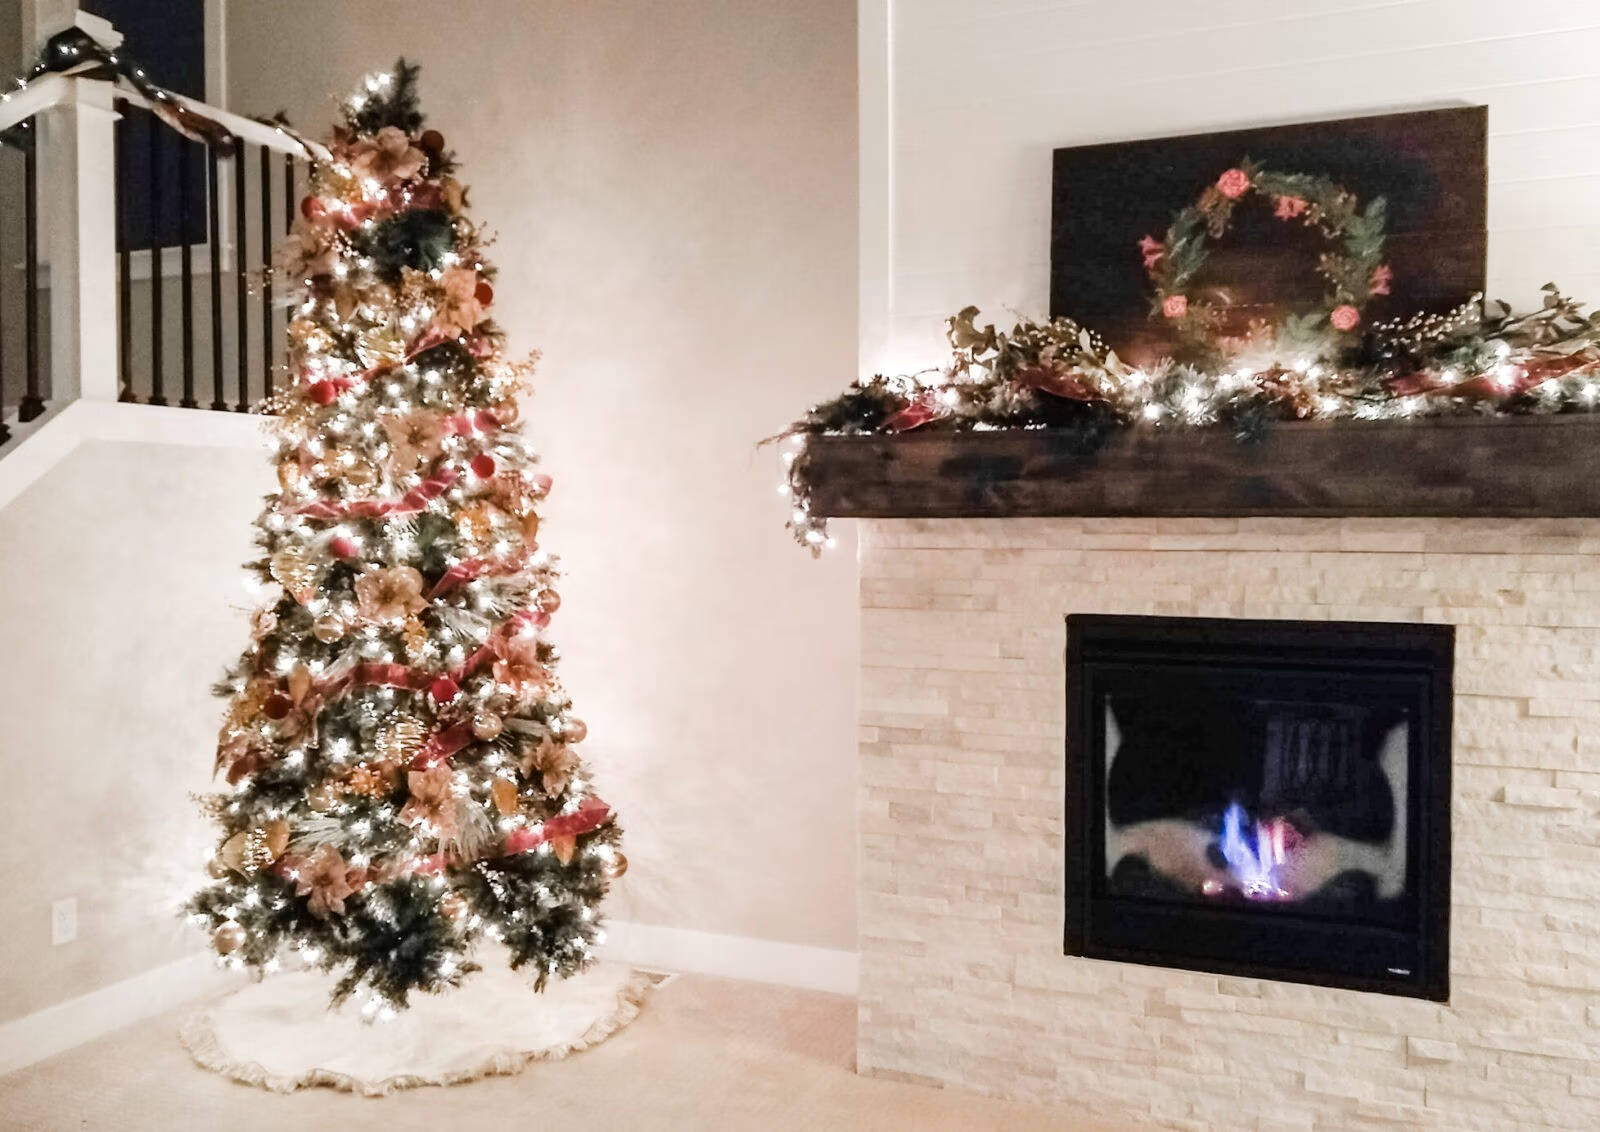
I like to think I have a good instinct for design, but when I bought my first grown-up Christmas tree a few years ago, I didn’t really know where to begin. I talked with a few designer friends, applied some practical limitations of my own, and came up with a design and method I really like! If for no other reason than to document the method for my future self, I thought it wise to write it all down! But of course, I hope it helps you, too!
STEP 1: CHOOSE A COLOR SCHEME
If this feels tricky to you, head here for some guidance. Or, spend several hours totally sidetracked googling general color schemes. It’s one of my favorite R&R pastimes, to be honest. So oddly satisfying.
If you’re trying to be extra frugal, it may be wise to set out with a few different color schemes in mind (or in screenshot) in case some of the colors in your favorite palette seem hard to find at reasonable prices.
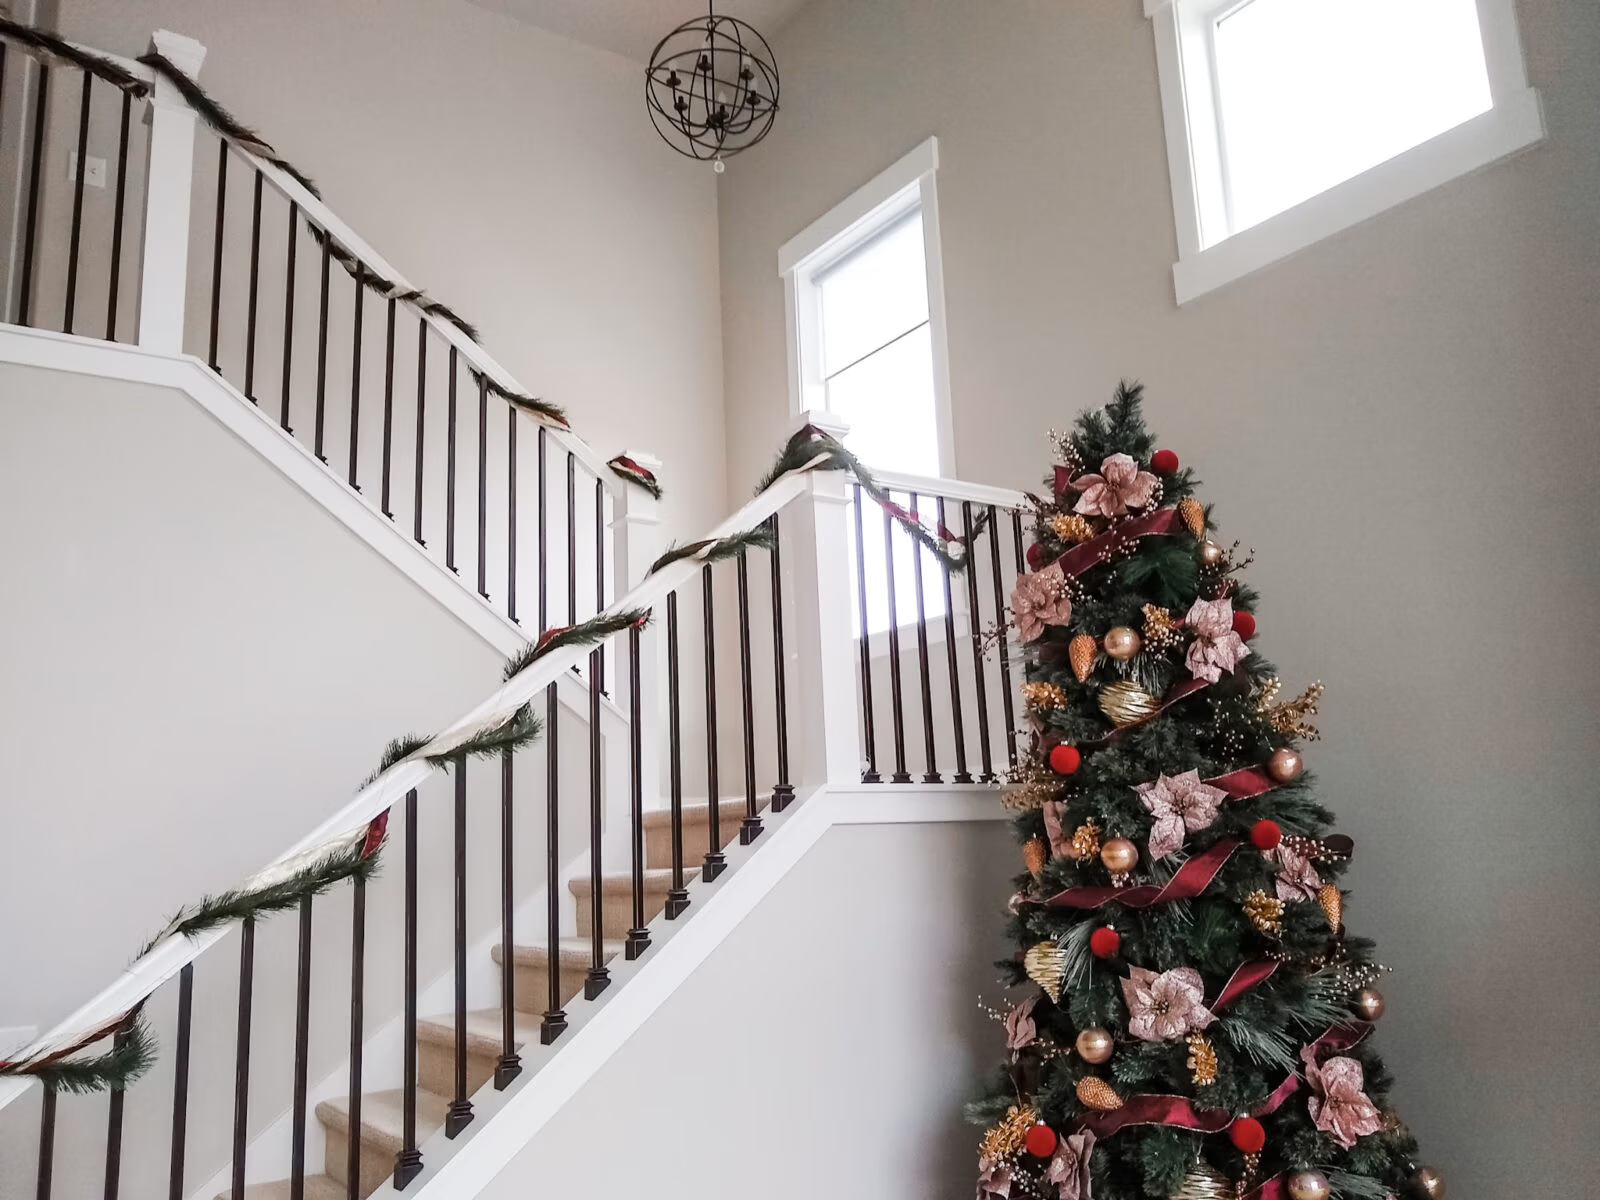
I set out knowing I wanted to use a pale pink, burgundy, and copper. Once I got out, I decided to add gold and pearl to the mix, as well.
STEP 2: BUY YOUR TREE
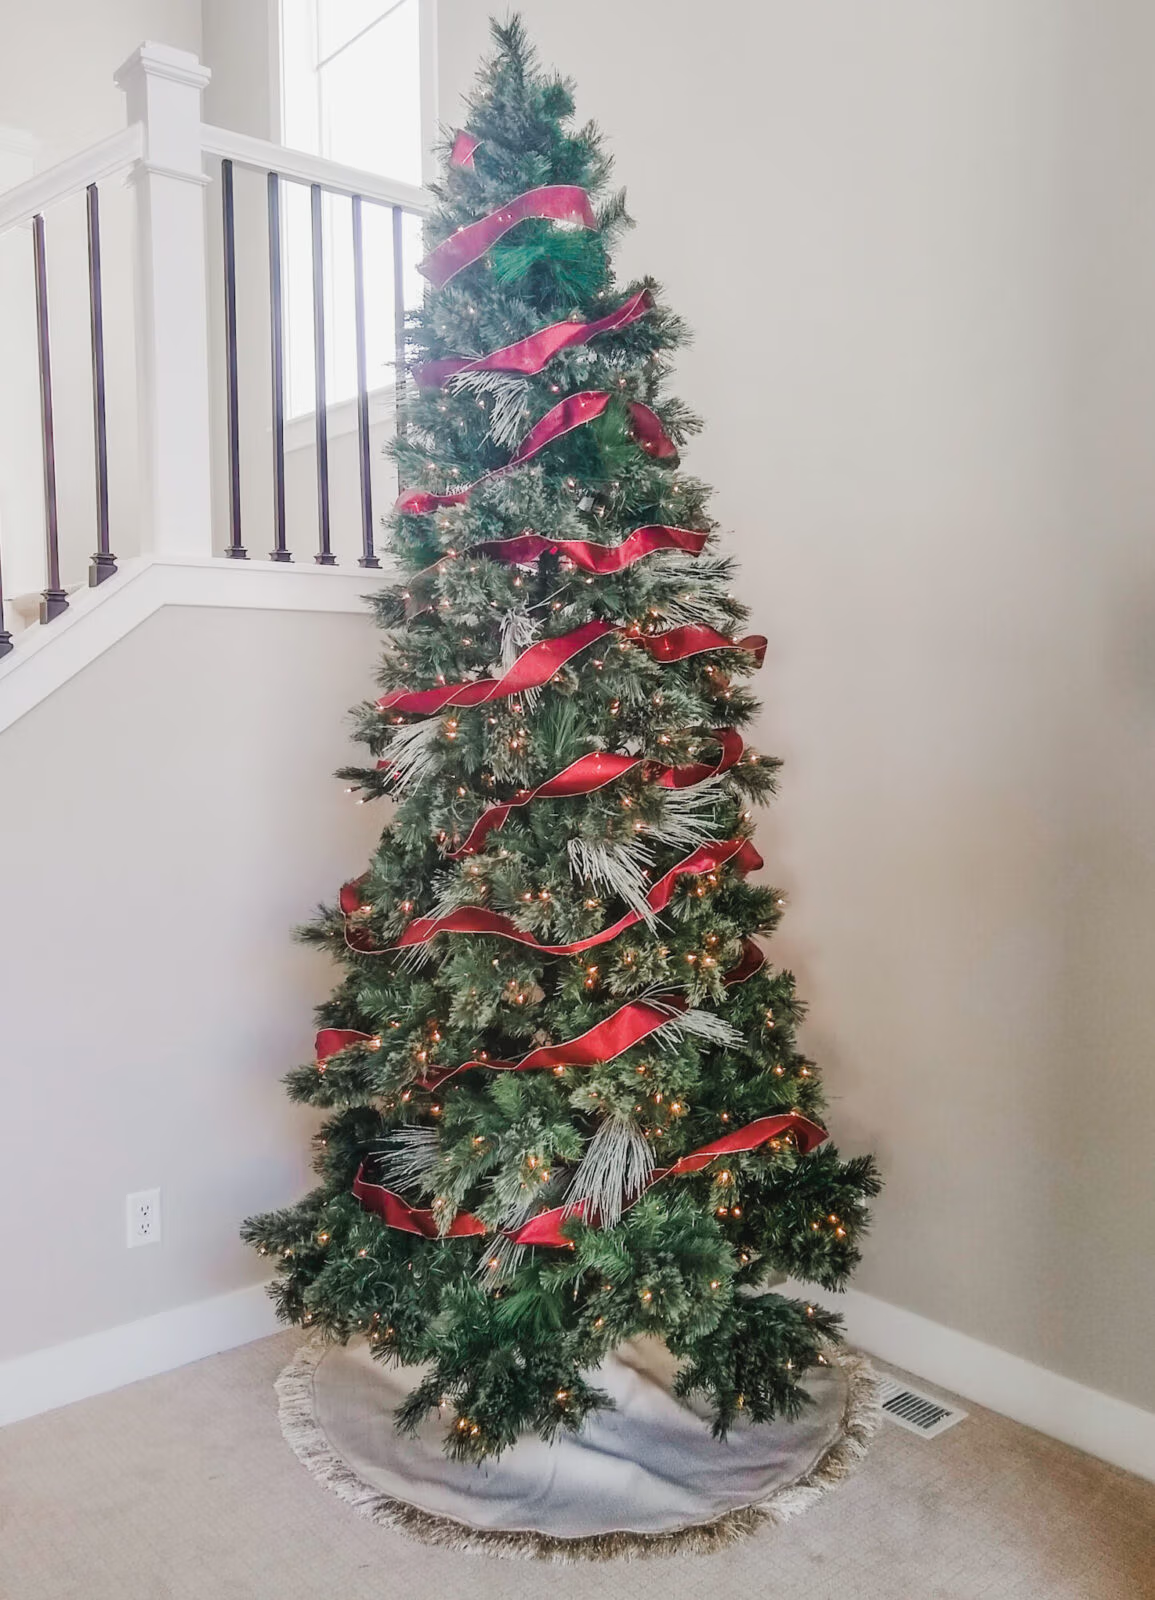
Once you have a basic color scheme, you can choose a tree that fits! If possible, I recommend choosing a tree that already has a little bit of variety in the color and texture of the branches.
I decided to go with a pre-lit tree. If you don’t choose a pre-lit tree, make sure to add lights to your shopping list!
You may also want to think about the top of the tree. Some artificial trees have a single tall branch at the top–designed for traditional tree-toppers. If you don’t want to get a topper (personally, I don’t like them), make sure to choose a tree that has a more natural-looking top.
You can definitely save some money here by waiting for a sale! Make a list of a few stores that sell trees, and check online prices every few days, starting mid-November. When the price looks good, head to the store to avoid shipping costs! *I mainly kept an eye on Target and Home Depot.
STEP 3: GATHER YOUR SUPPLIES
Some General Advice:
- Plan to go to several stores (Target, Michael’s, Home Goods, At Home, Pier One, etc.). It’s unlikely that any one place will have everything you want at a good price. You’ll want to shop around to get the best mix of items at the best prices!
- Buy more than you’ll end up needing, and return what you don’t use. Get a bunch of stuff from each store (multiples of each checklist item–anything you think might end up working). When you get home, lay out everything you gathered (and compare receipts), and stick with the prettiest, most cost-effective combination you see!
- My personal recommendation is to set aside at least a good half a day for this, so you can keep all of your purchases in your mind at once. When I did my tree, I went to several stores in the first half of the day, came home and decorated the tree, and then returned all of my excess material on the evening of the same day. But…that’s so me. I love things to be finished! Ultimately, just do what works for your personally style and pace. ❤
Your Shopping List:
- Tree Skirt: Shop around (including online) until you find something you like, at a fair price.
- Ribbon: Ribbon is the most cost-effective way to round out your color palette, especially if any of your chosen colors are difficult to find in ornament-form. Choose a thick ribbon (3″+), so it doesn’t just get buried in the branches. I use three full spools on my tree (with some extra on my mantle display). Once you find one you like, buy like 5 spools and return the excess after you confirm how much you’ll actually use.
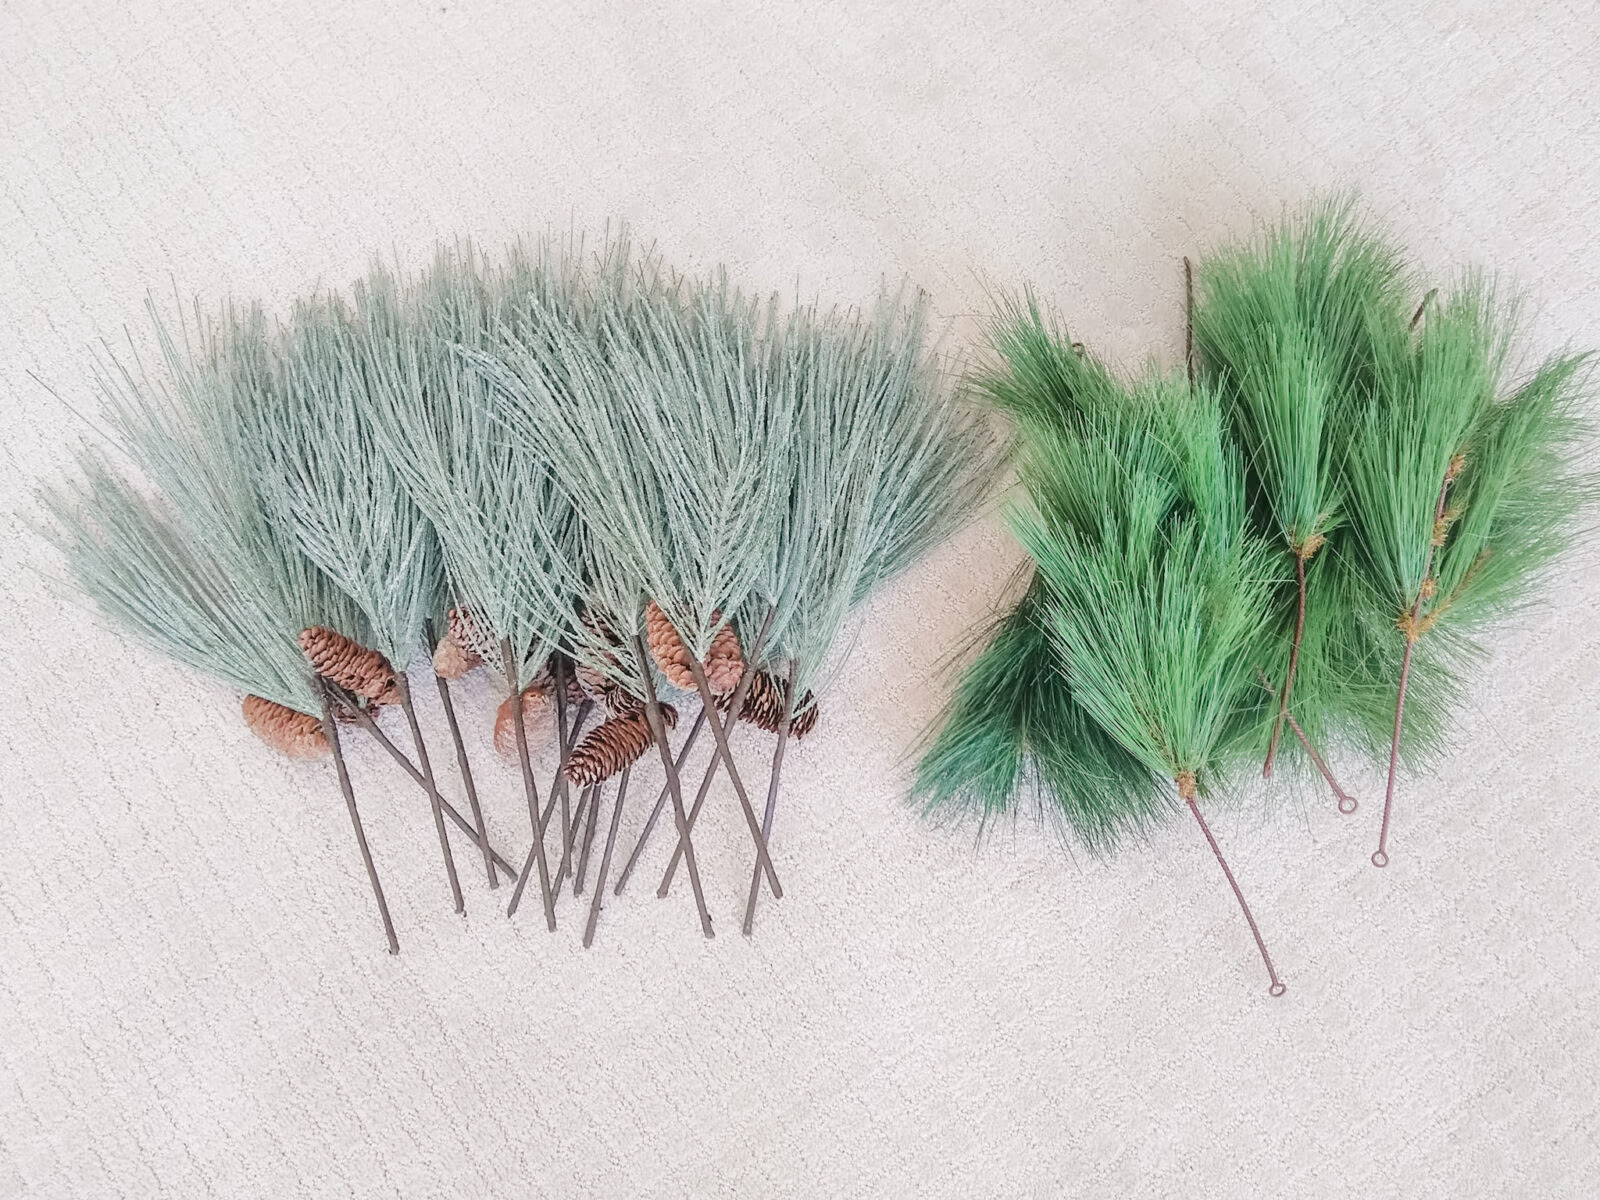
- Green Swag Stems: The purpose of these is to make your tree look more full before you add color/bling. I recommend at least two colors and textures. I ended up getting 15 of one style, and 10 of the other (15 of the less expensive one). But, every year I wish I had more options. Haha. So, take that as you will. Depending on the size of your tree, and your budget, maybe start with 30 stems (10 each of 3 varieties, or 15 each of two) and see how that feels. Return any excess.
- Blingy Swag Stems: I LOVE decorating this way. It’s so easy to just jam these in your tree, rather than carefully hanging ornaments with little wires. The pink poinsettias I have are just from the floral section of the craft store. I bought three bouquets and just chopped the flowers (with stems attached) off the main branch. They’re so good at filling weird gaps in the tree! I can’t recommend this strategy enough. In addition to the poinsettias, I got about 10 each of three other types of swag (one gold, one pearl, one copper). But I’ve seen really gorgeous results with blueberry or cranberry stems. I can imagine all kinds of things being gorgeous!
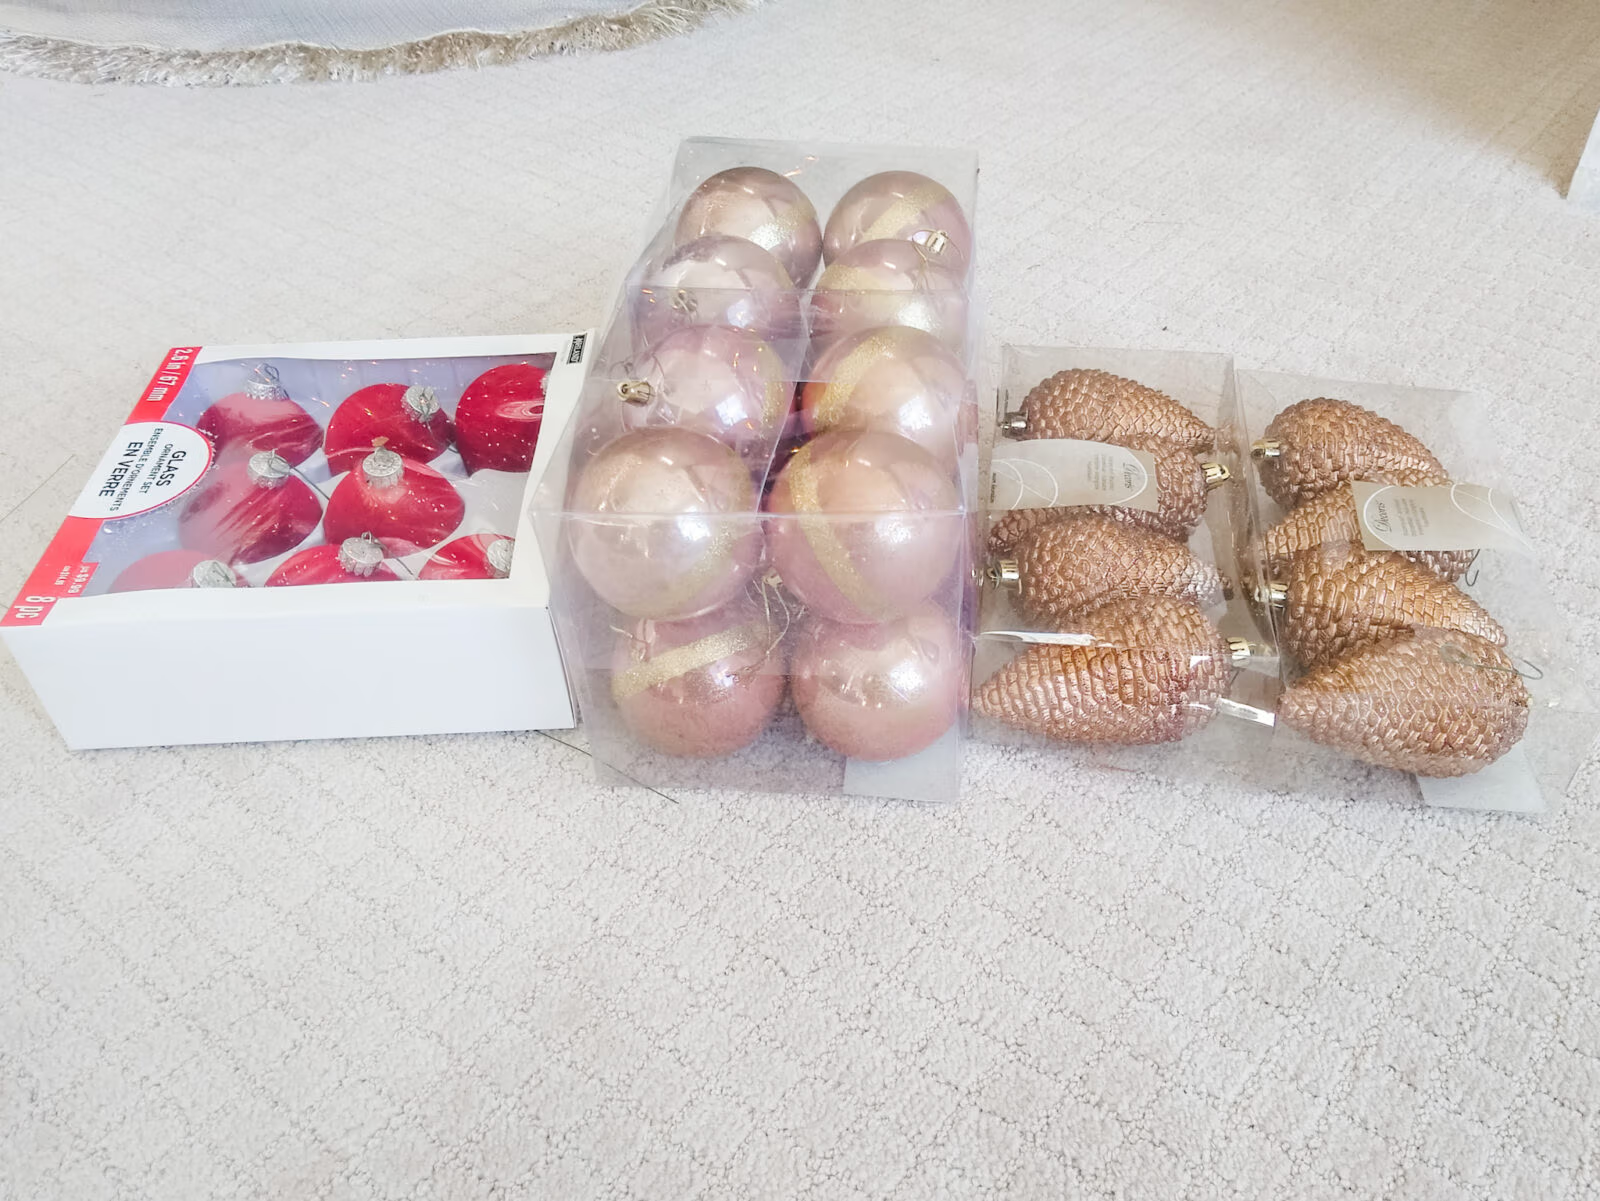
- Bulbs + Hanging Ornaments: Make sure to get different sizes, shapes, and textures. Personally, I hate dealing with bulbs, so I try to fill in as much as possible with ribbon and swag stems. That said…you gotta have some bulbs. Haha. I got 4 really large gold baubles, 16 light pink spheres (shiny) with a glittery gold stripe, 8 glittery copper pine cones, and 8 velvety red spheres. All of these were SUPER cheap. But they’re also all from different stores. Each type was on sale at a different store–together, they’re lovely!
STEP 4: DECORATE!
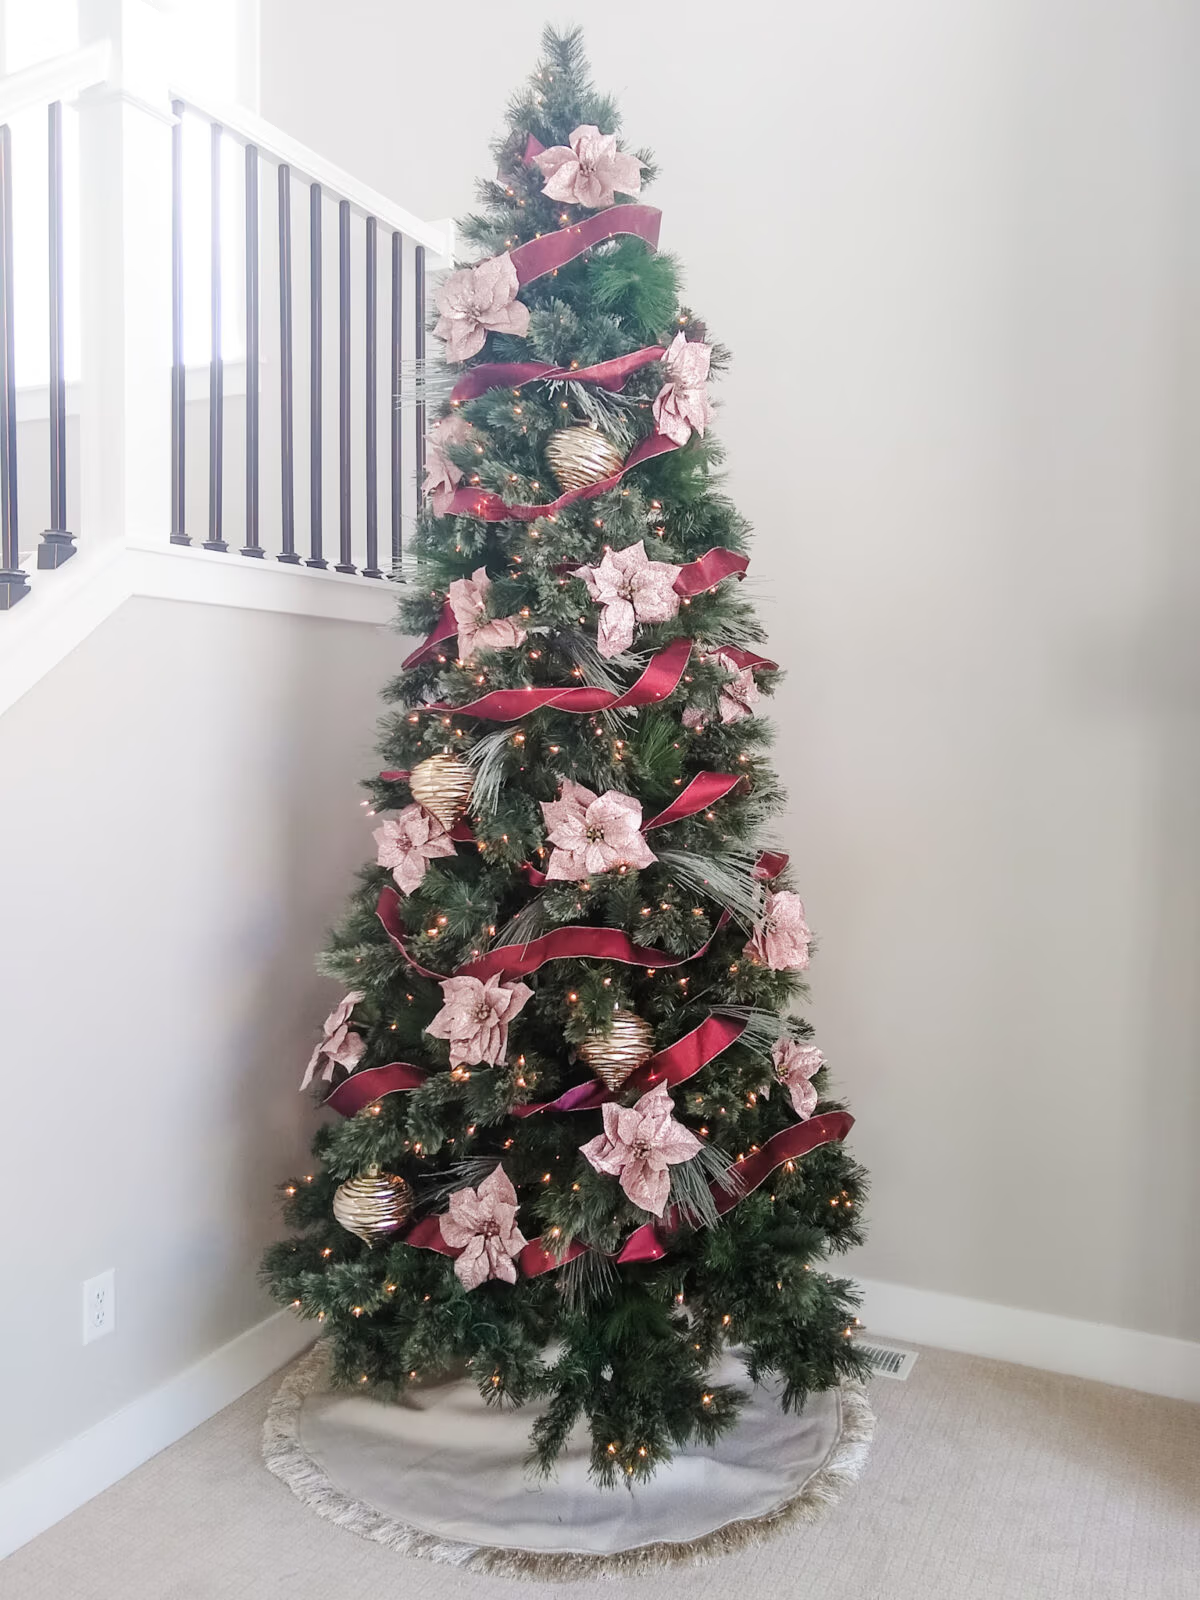
1. Start with your green swag. Place it where you see gaps, and space each type out with as much balance as possible. Don’t overthink it. You can adjust as you go.

2. Ribbon time! Start at the top, and wind around and down, making the gaps larger with each trip around the tree. Rotate the ribbon a little as you go, and make sure it’s not totally symmetrical.
3. Get your largest bulbs on there. Put them where people can see them!
4. Place the most prominent swag stems (or your second largest bulbs, if you didn’t get any larger florals).
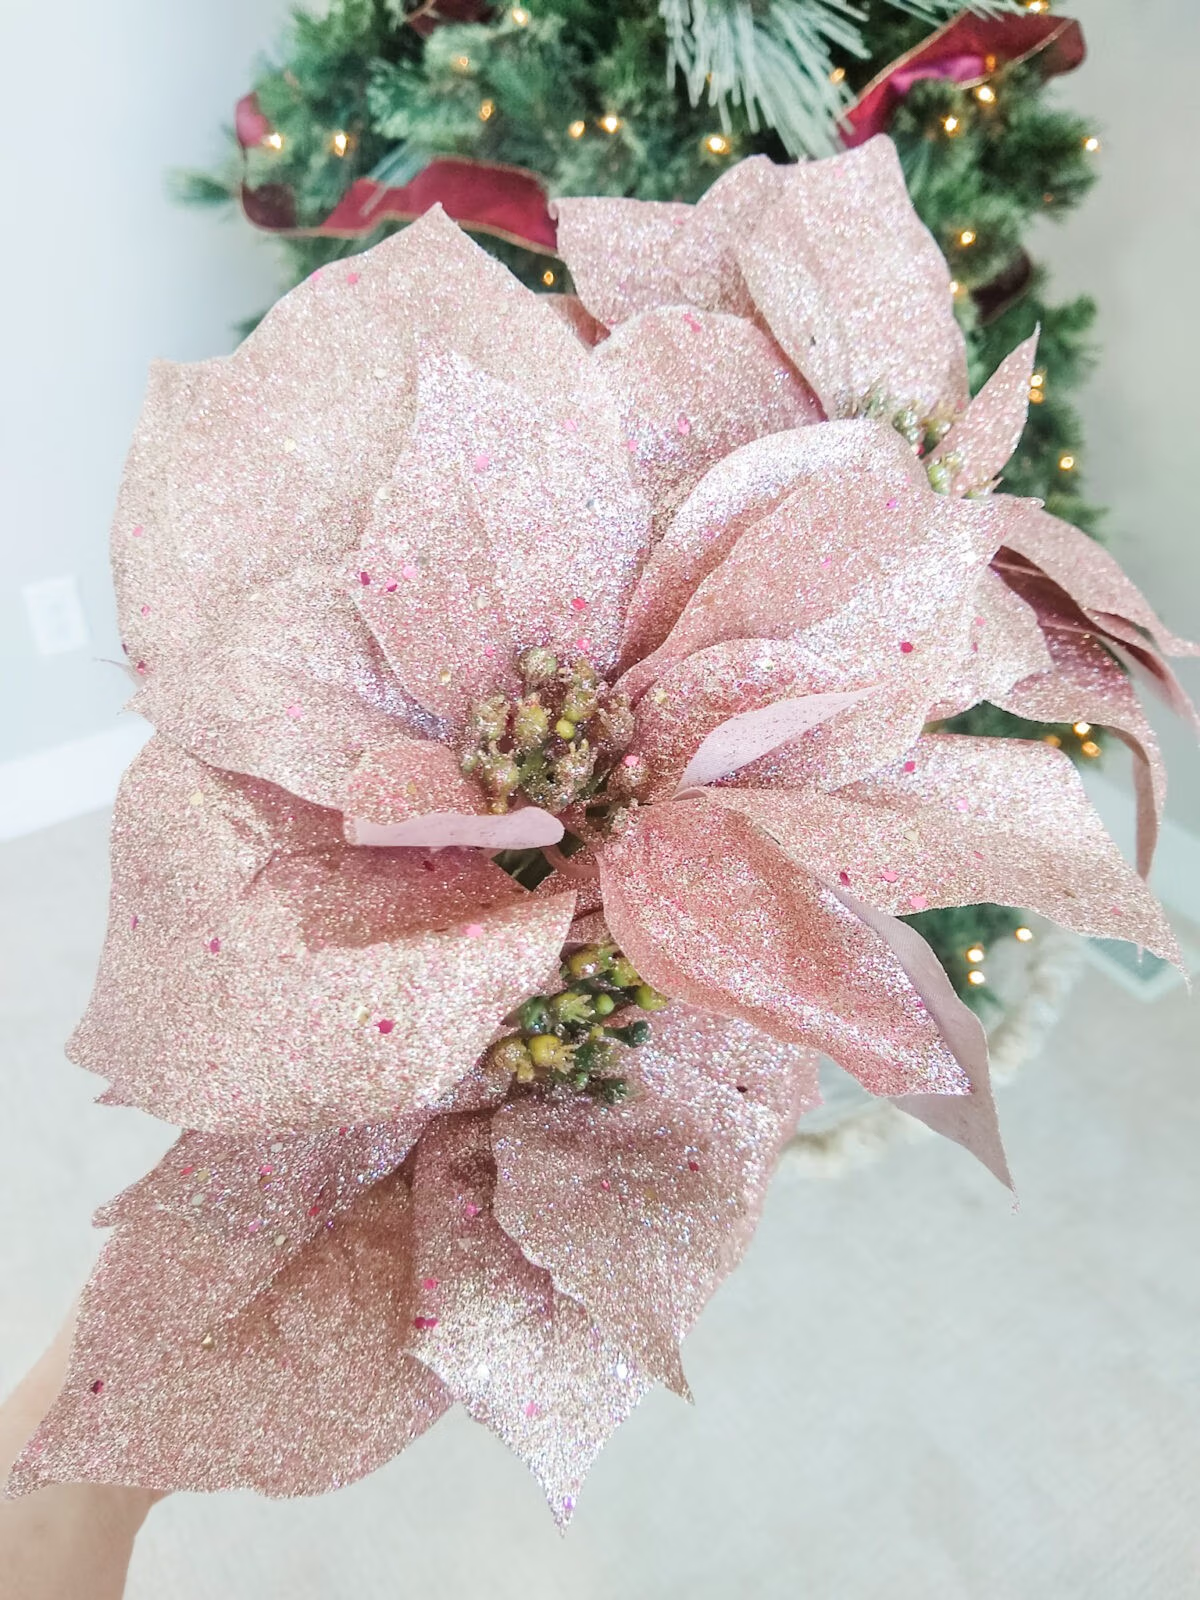
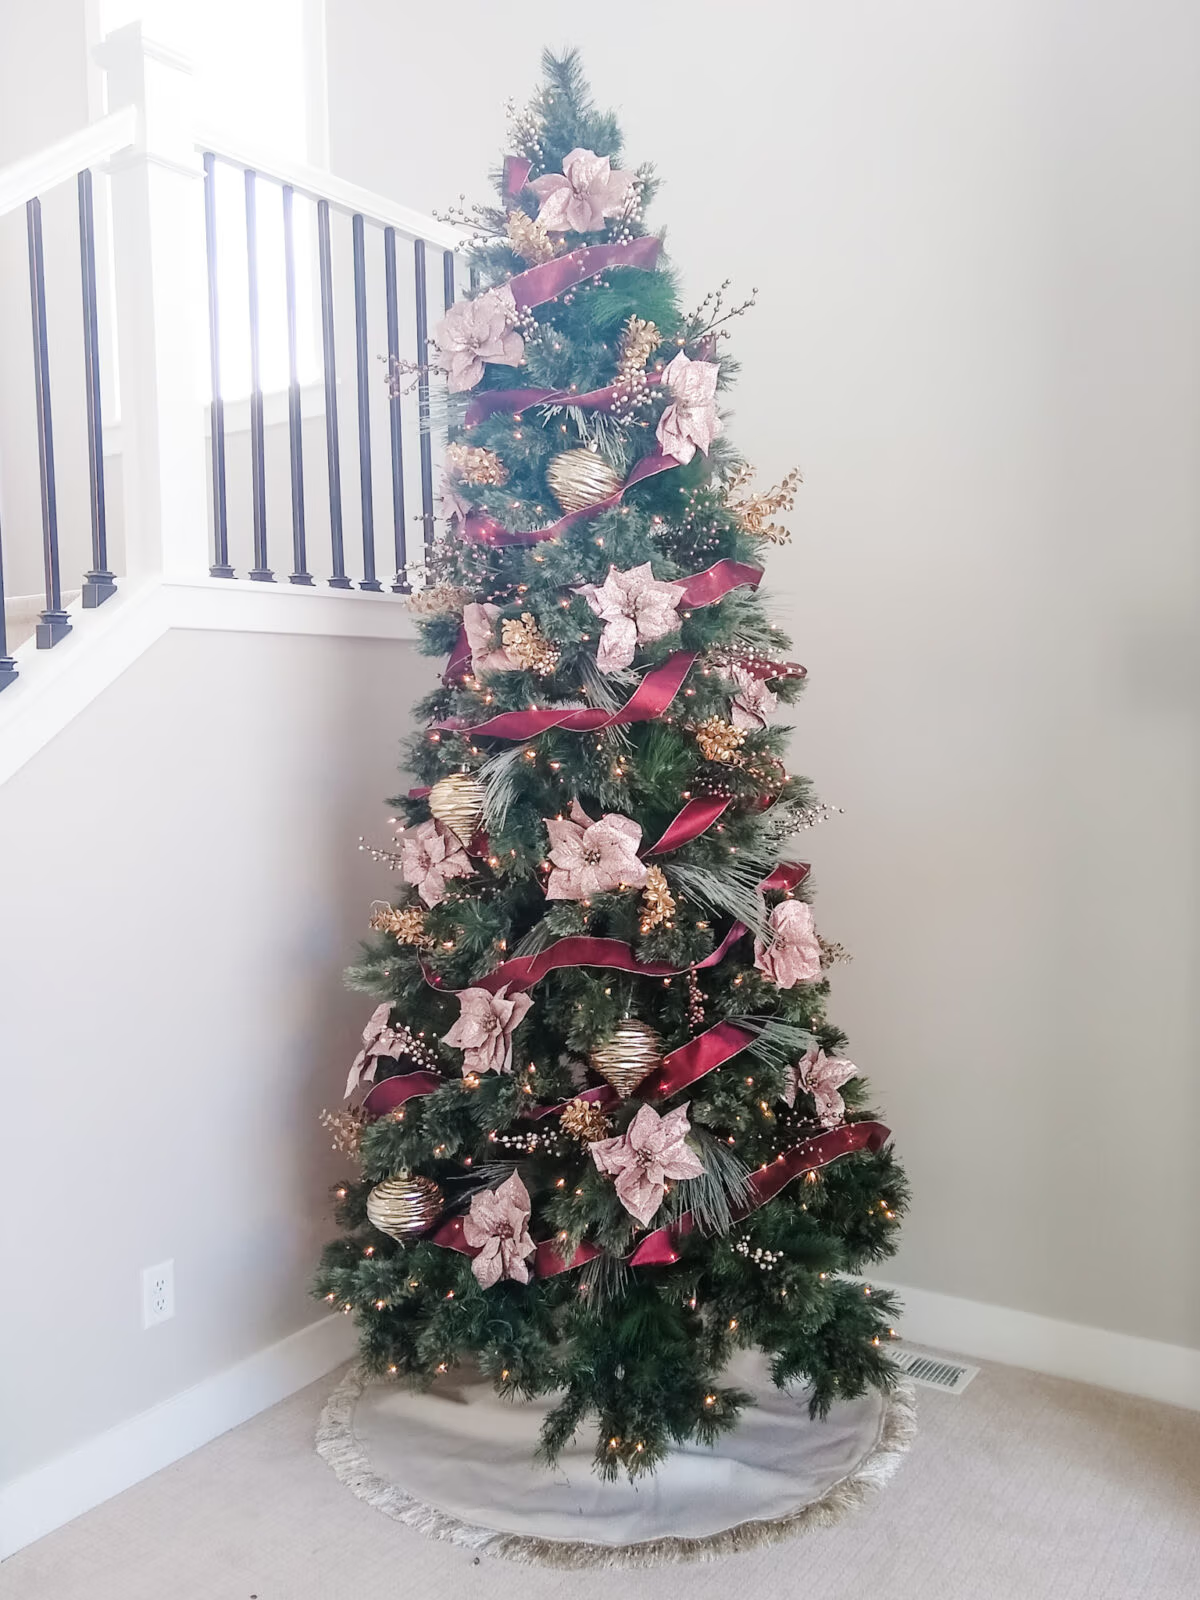
5. Little stems. Do one type at a time, and try to balance as you go.
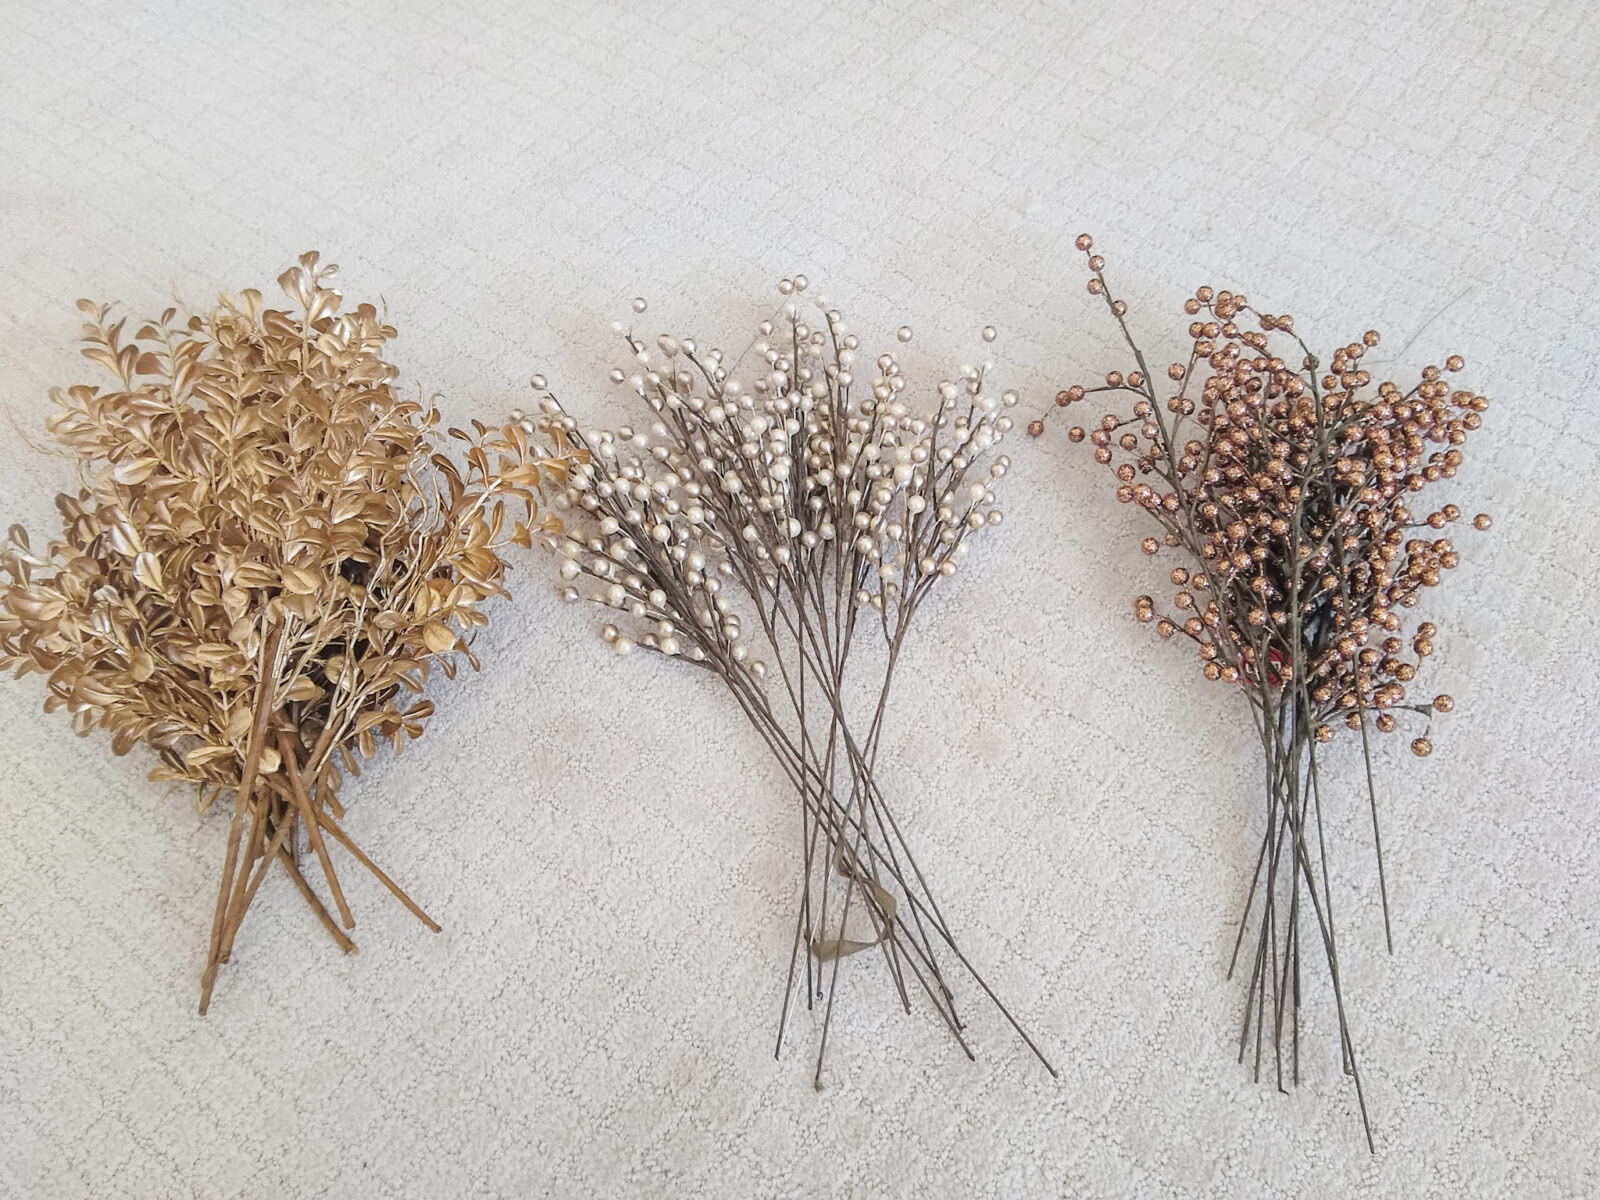
6. Add your smaller bulbs+ornaments!
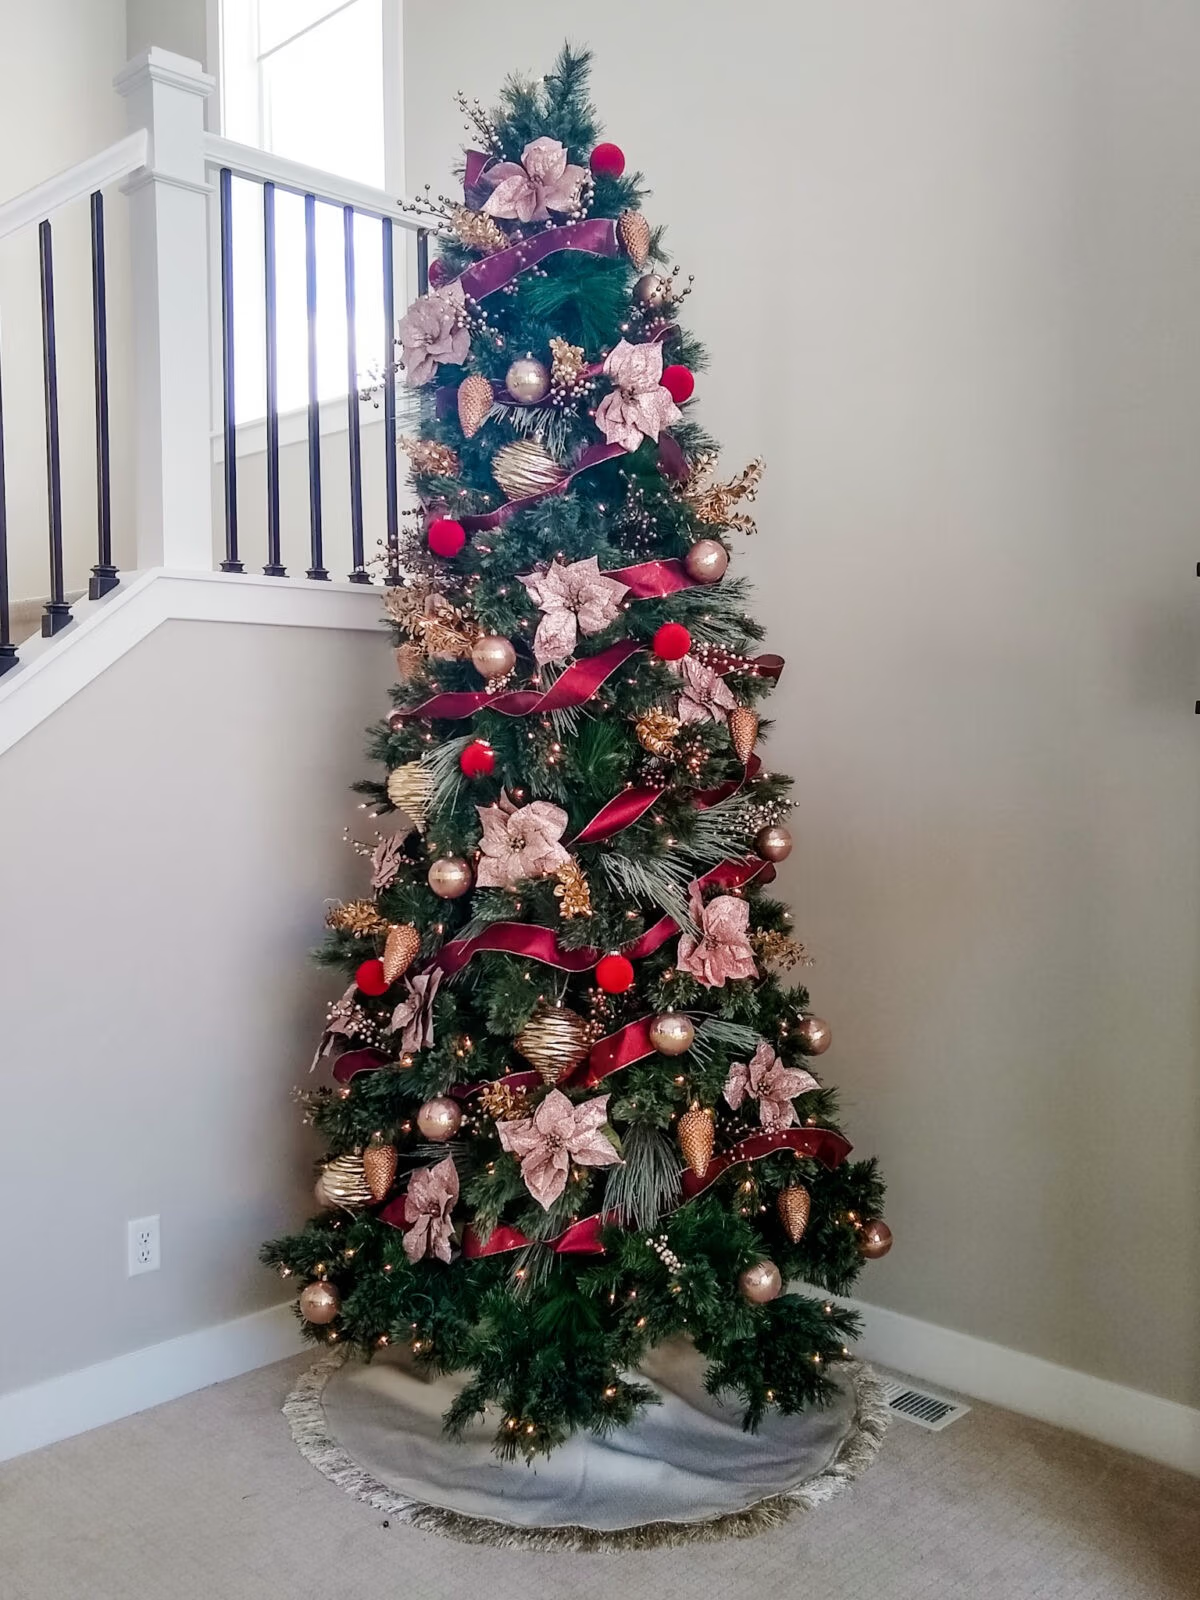
STEP 5: Embellish
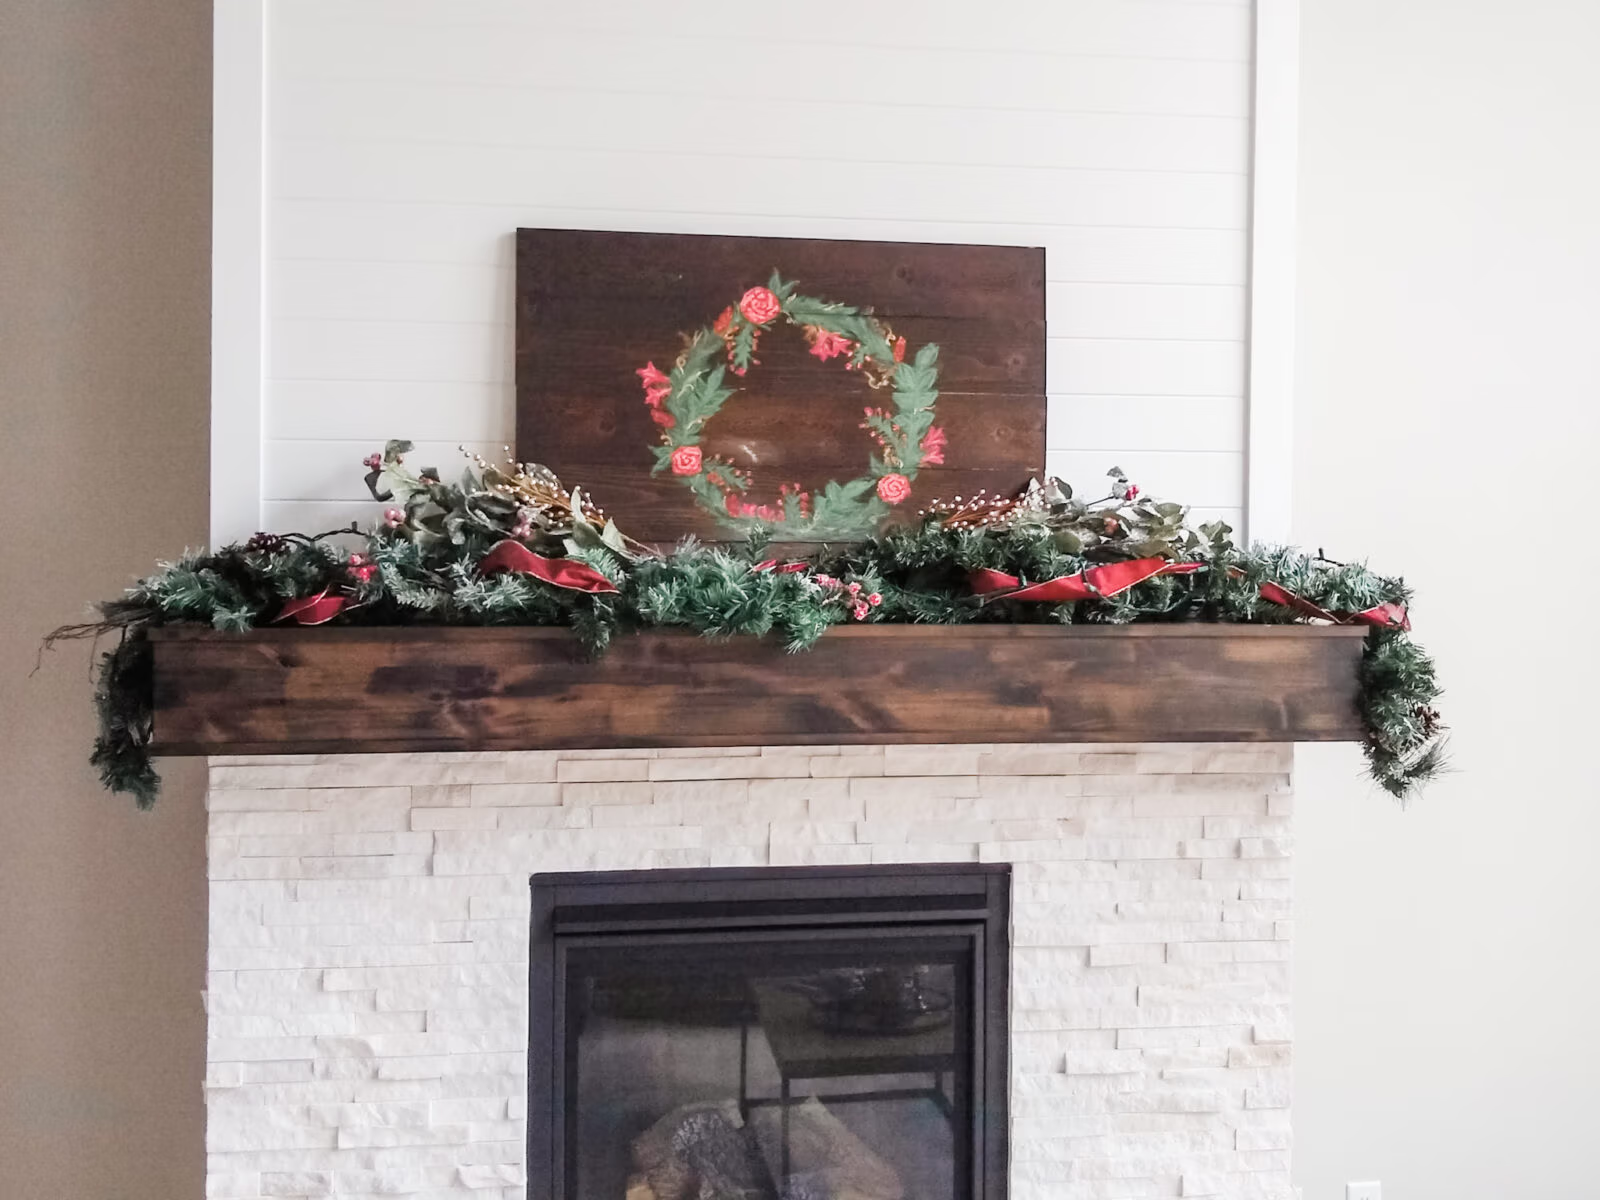
Mantle: You can likely find a pretty 8-10 foot garland for a fairly low price. If you wrap the garland with the same ribbon from your tree, they’ll automatically be coordinated! To top it all off, just add a few similar (or the same) swag stems from your tree!
- Note: My mantle centerpiece is homemade (maybe I’ll do a “how to” post on this next year…), but you can easily find something lovely at a craft/home-goods store, or you can use whatever you have in that spot year-round! A framed family photo would be a great backdrop for your holiday mantle garland.
Banister: When I bought my tree ribbon, I also bought a few spools of a thinner version of the same ribbon, so my banister would coordinate with my tree. I also got a complimentary color, as well as a few simple garlands from Michael’s (no joke, these were $8 each for TWENTY feet. As in, $16 for 40 feet. I twisted all three (the two ribbon colors + the pine garland) together for ease of use. Then, I got some really inexpensive twinkle lights (20 feet per strand). Each year, I wrap the ribbon+garland and twinkle lights around my banisters! Garlands can get SO expensive, and I feel like this has been an extremely cost-effective solution, if simple.
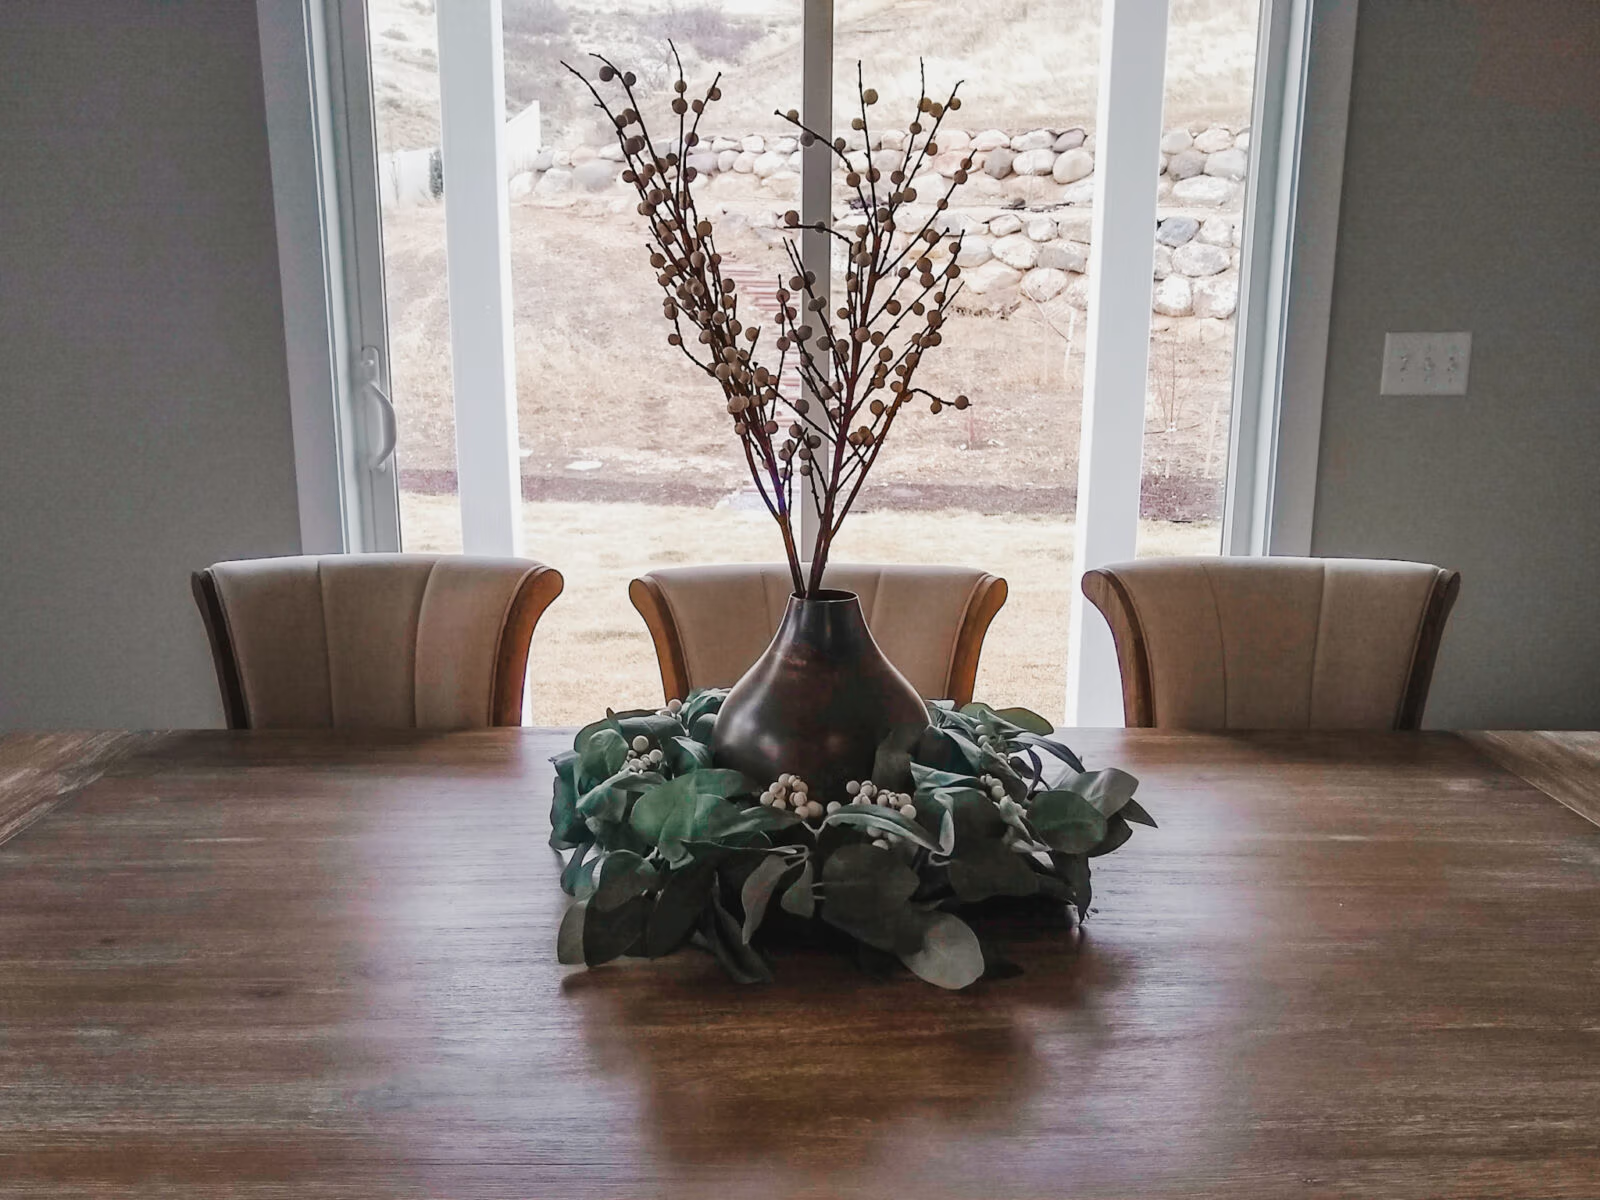
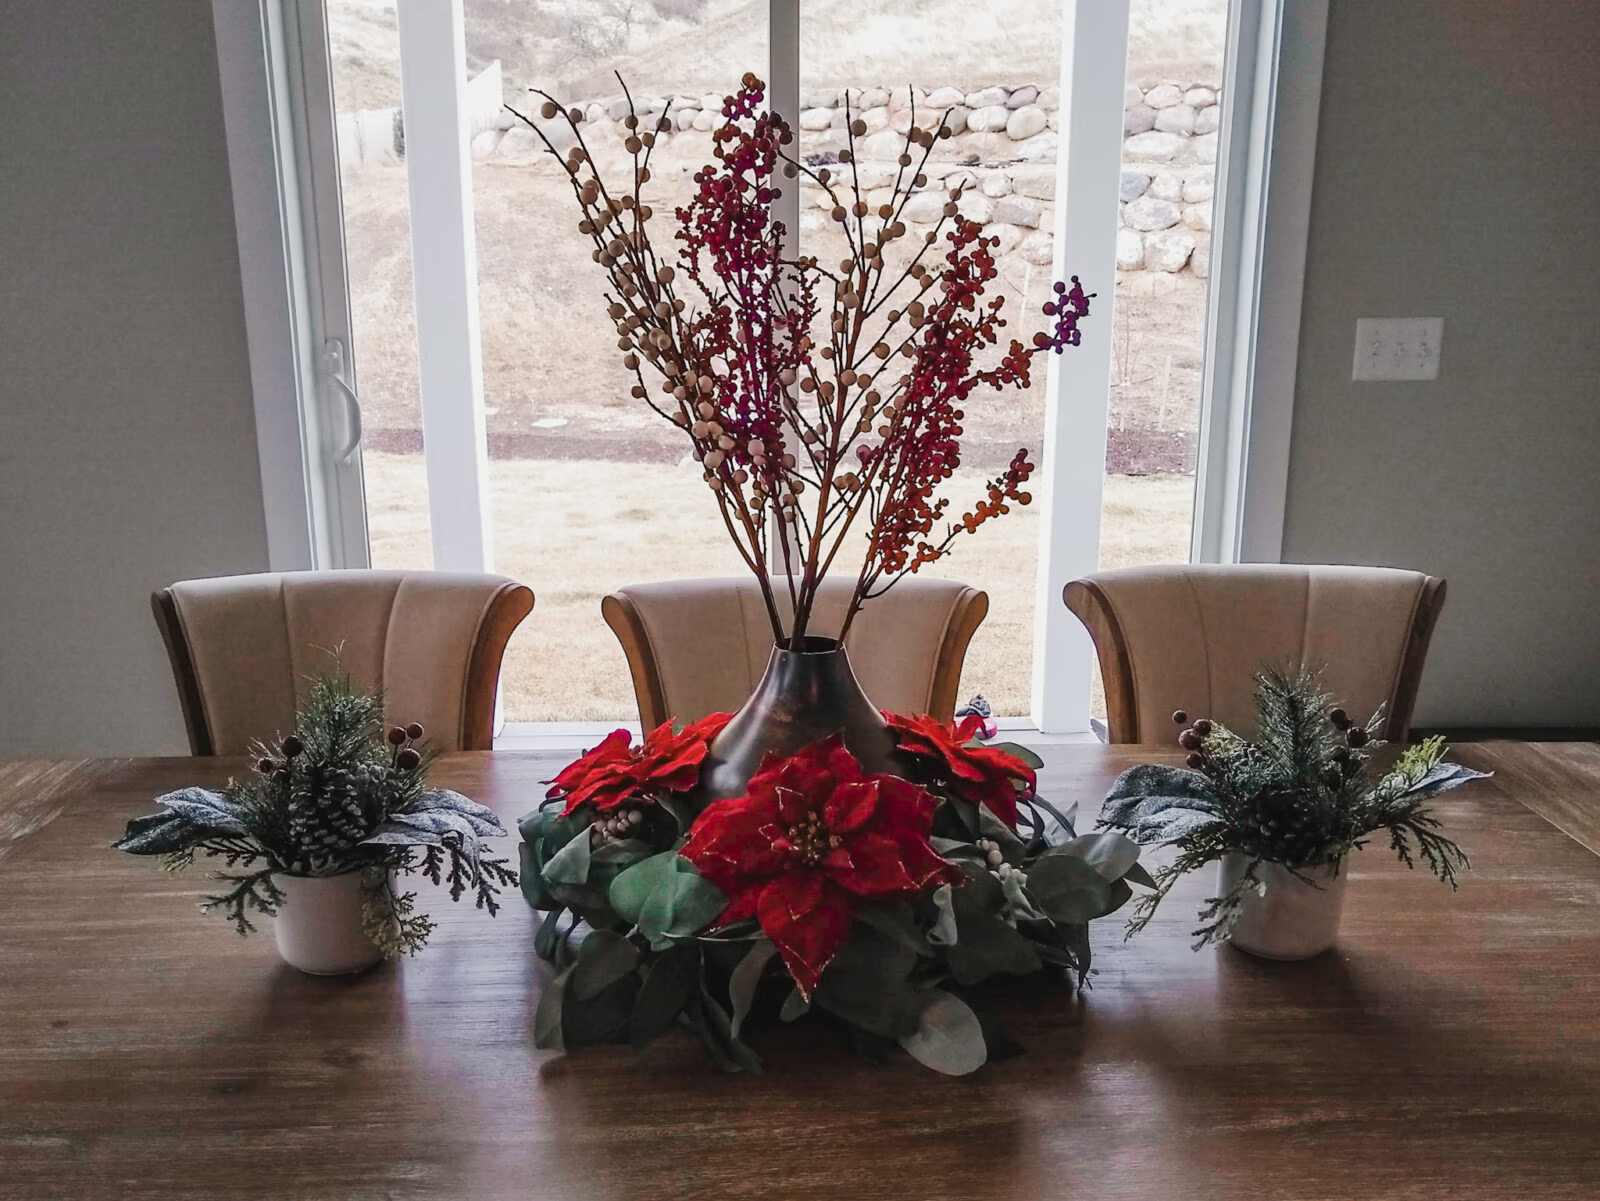
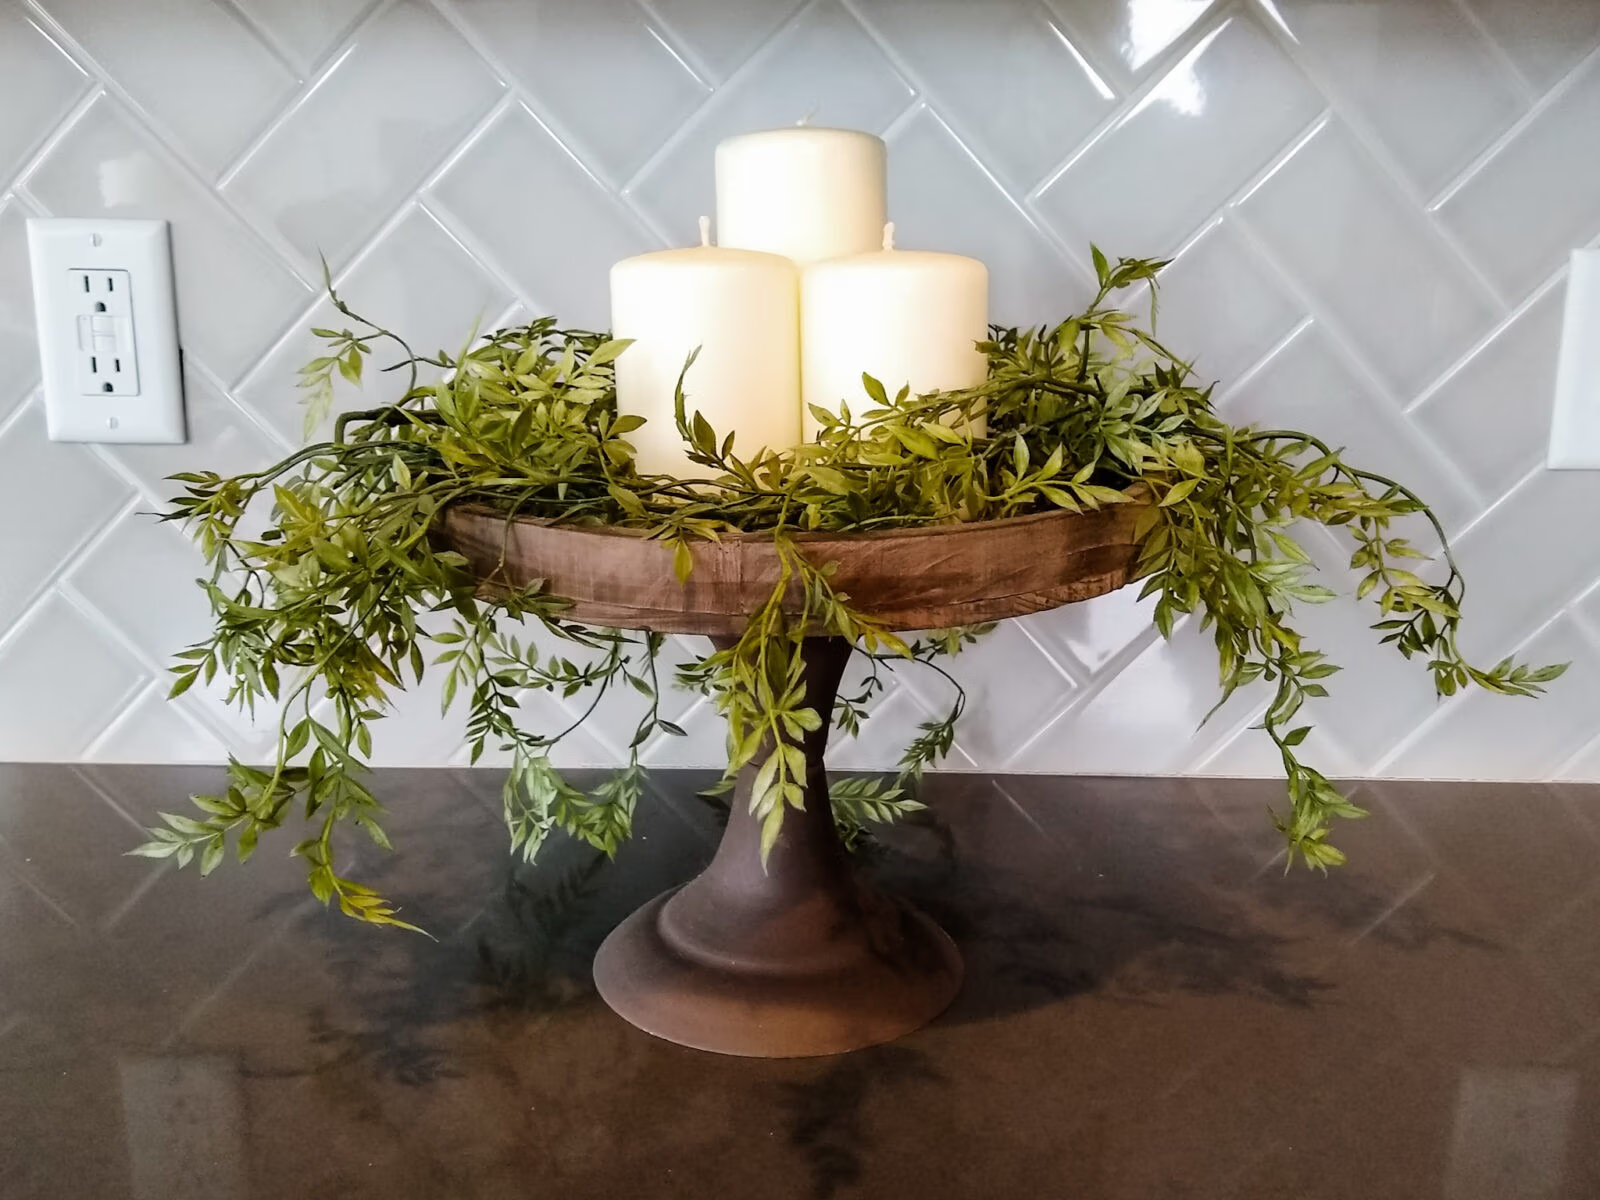
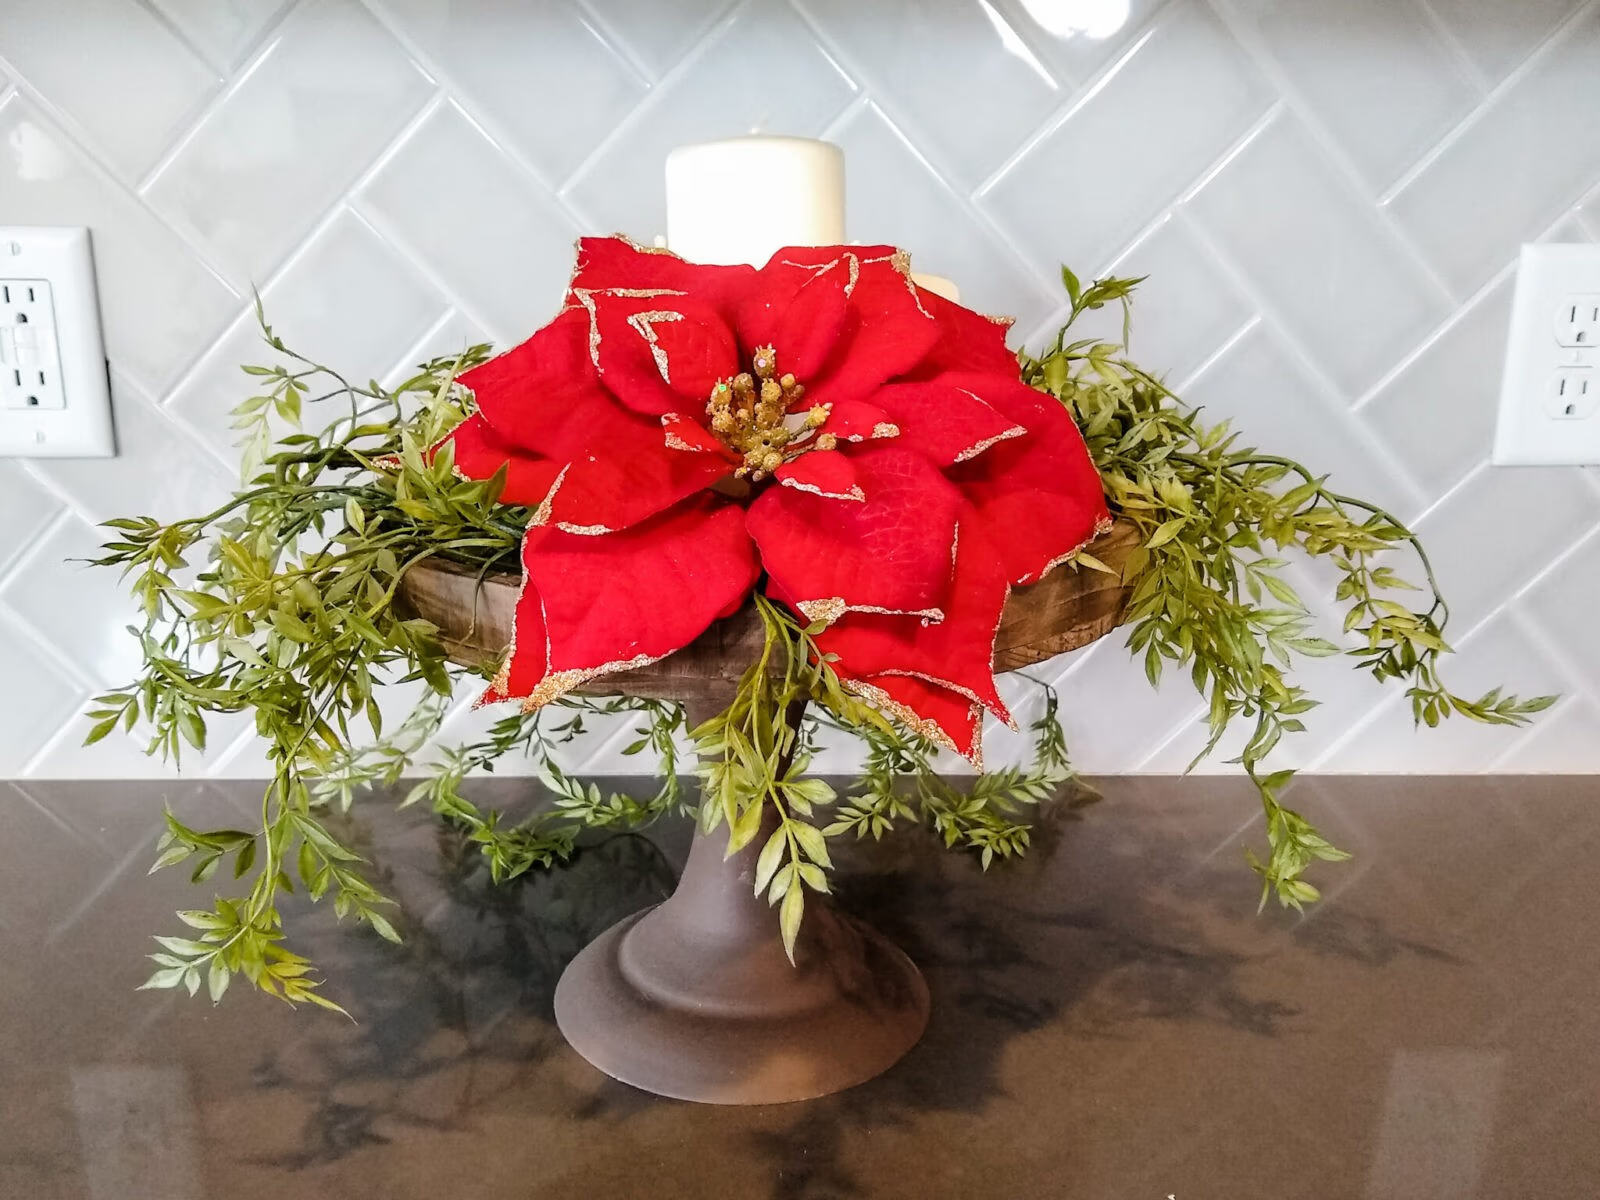
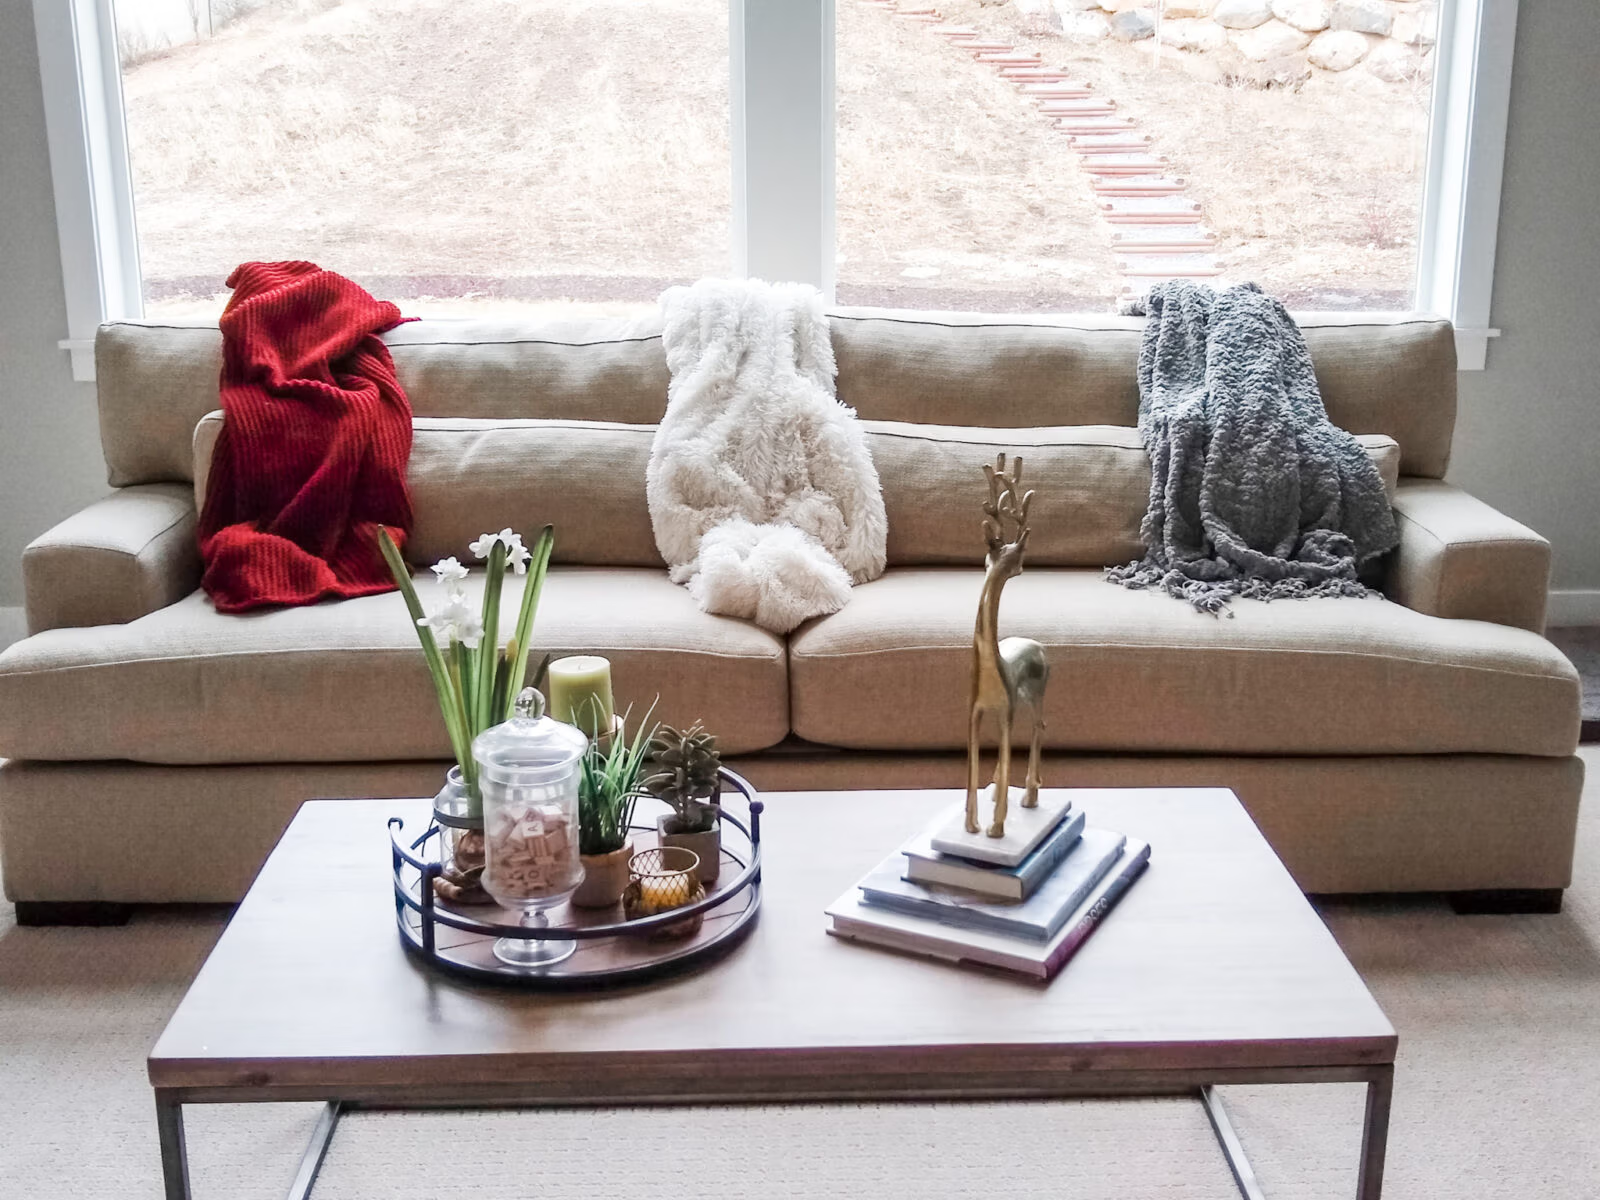
Other: I’m a big fan of dressing up what you already have, rather than buying brand new pieces. Obviously, this would be unique to each home, but I’ve included several examples from my home…
How My Kitchen Table Looks All Year

